URL Sync
To get started with enabling Sync for your file, head to the Settings tab in the plugin and in the section Sync providers click on Add new dropdown, choose URL to select a .json stored on your server as your Sync Provider.
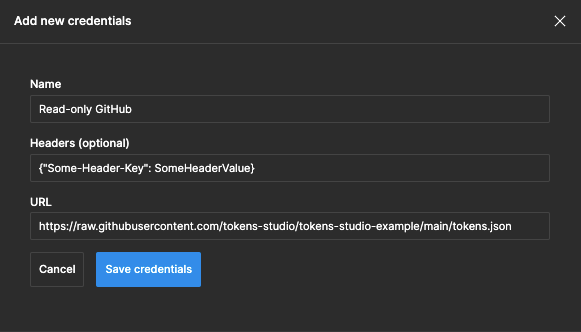
When you're launching the Sync feature for the first time, you will not have any stored provider credentials on your device. Go ahead and select Add Credentials.
For name, choose any name you want. You can change the name later on.
If your server requires some sort of authentication you can store your Headers as a JSON object in the headers field. It's important that your .json stored on your server has Access-Control-Allow-Origins set to *, ask your engineers to help you out on that if you're stuck or read up on it. The URL part is the complete URL that points to your .json
Read only mode
The URL sync mode is a Read-only mode. That means you cannot make any changes directly in the plugin, you'd have to make it in the .json stored on your server.
You can find an example .json here.
Getting your team on board
Once you set a storage provider on a document, we store the ID and the name of your bin to this document. The Headers field is left blank, so each team member will have to add the headers on their own.
Pulling changes
The plugin will automatically fetch the newest remote tokens on startup. From time to time, your team might have made changes while you had the plugin open. To pull the newest changes, hit the 'Pull from URL' button on the top right.